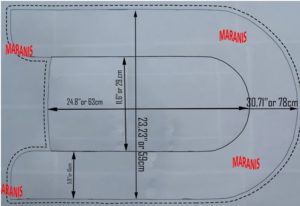
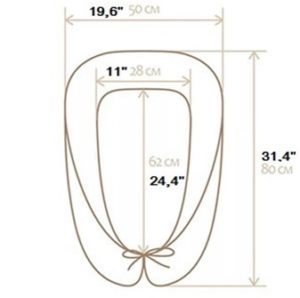
In order to sew a cocoon with your own hands, you will need a baby nest pattern. You can find it at the link:
https://www.etsy.com/listing/790982271/baby-nest-for-newborn-pdf-babynest?ref=shop_home_feat_2
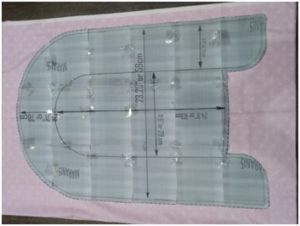
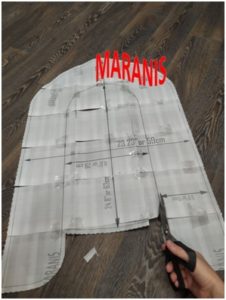
Print 16 pages in Adobe Acrobat Reader from a file. Indicate the real size in the settings.
It turned out 16 sheets.
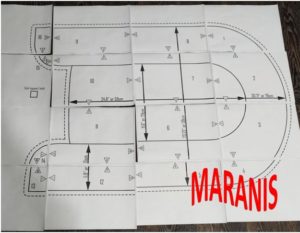
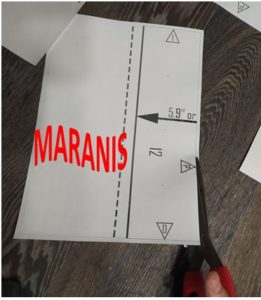
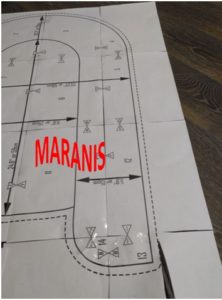
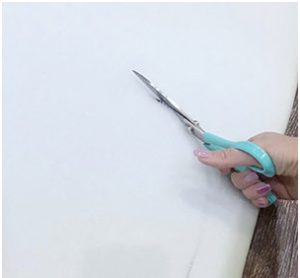
Cut the borders of the sheet and combine the pattern by numbers and combining the letters in triangles. Use adhesive tape.
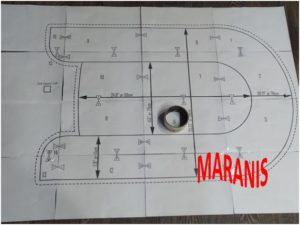
Cut along the divided lines. The solid lines are the sewing lines. Pattern ready.
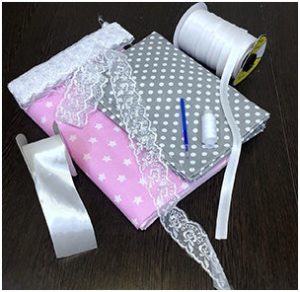
You need:
- Fabric (2 different fabric with stars and polka dots in our case).
2 pieces of different fabric 40″ x 28″ (100 cm x 72 cm) each.
Fabric Strip 1,5’’(4cm)wide and 86’’(220cm) long.
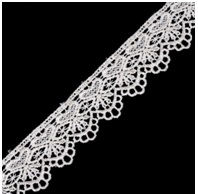
- Lace. With a length of 86″(220 cm)
- Threads.
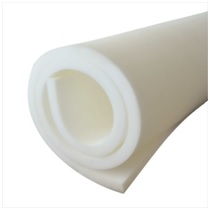
13 x 26 inches (33cm x 66 cm) thick piece of foam rubber. Thickness 0,3’’(1cm)
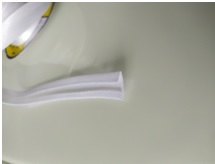
- Bias tape. length 40’’ (100 см.). width 6 » (1,5 см).
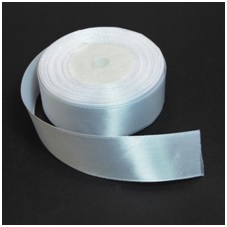
- Satin ribbon. width 1.96″ (5cm) length 118″ (300cm)
- Thermo pen (You can also use chalk or a piece of soap).
- Scissors.
- Sewing machine.
- Pins for fixing fabrics.
- Hollowfiber filling, 2 kg or other tipes of fiberfill
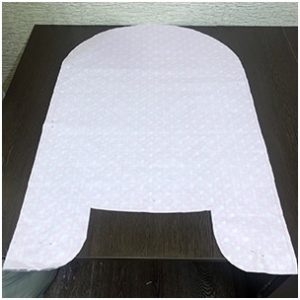
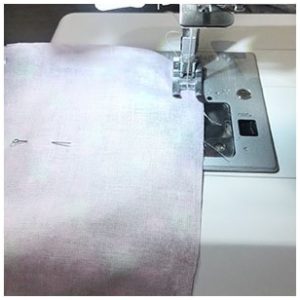
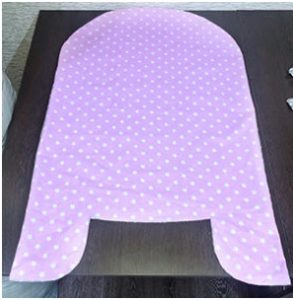
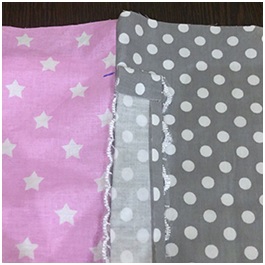
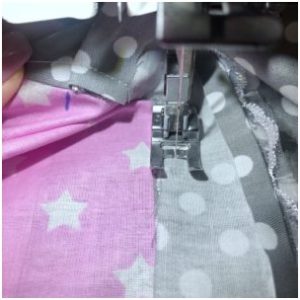
Take two cotton fabrics and put them face to face. In our case, these are pink stars and gray polka dots. Place the pattern onto them and outline with a pencil cut out.
Fix the fabric with needles around the perimeter
Sew all using 1/2» (1cm) seam allowance leaving a hole at the bottom.
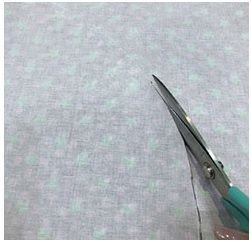
Cut out the sleeping place from the pattern
Put the pattern of a sleeping place onto the foam rubber and outline it
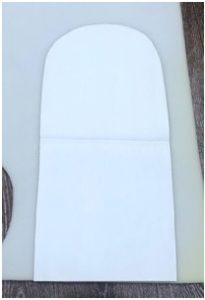
Cut along the contour.
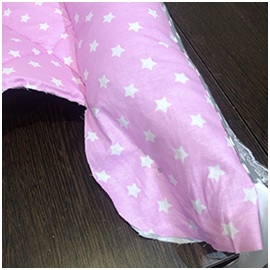
Turn out the product through the bottom.
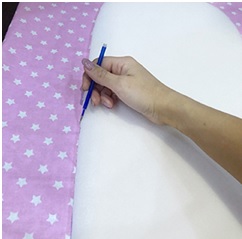
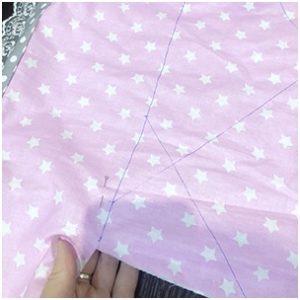
Place a hard foam rubber bottom onto the cocoon and outline it with a heat erasable pen.

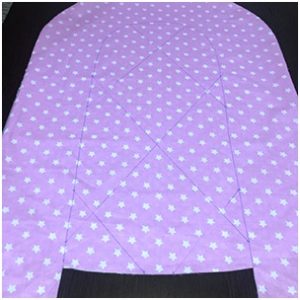
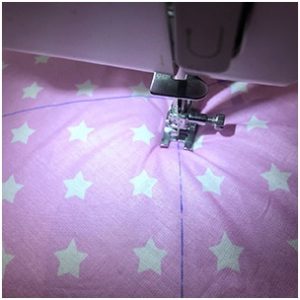
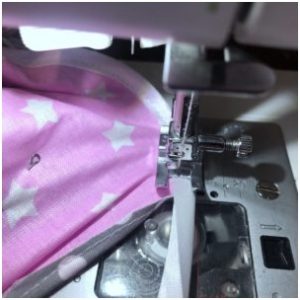
If you want, you can apply a pattern to the fabric, where you insert and stitch the foam rubber later. In our case, this is a diamond pattern.
Measure 1,5”(4 cm) from the bottom for a strip of fabric to sew on
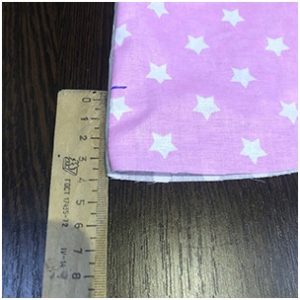
Cut off a strip 1,5”(4 cm) wide and 86”(220 cm) long.
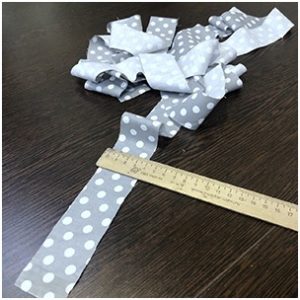
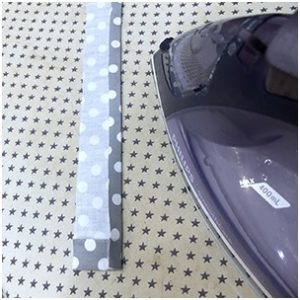
Fold 0,2’’ (0,5cm) on three sides and iron it.
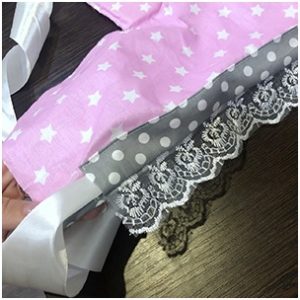
Take lace 86”(220 cm) long. Put it on fabric.
Place the strip onto the lace and stitch it, stepping 1,5“ (4 cm) back from the edge
Turn up the strip and stitch along the other edge
There is such blank as a result
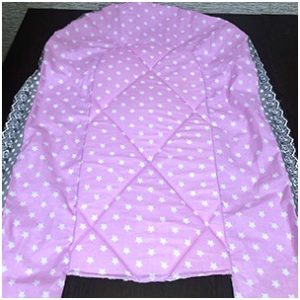
Pin and stitch the center
Stitch the center.

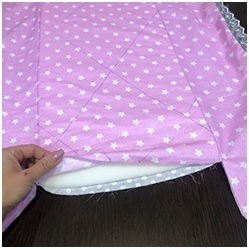
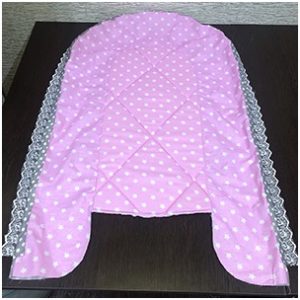
Insert foam rubber and stitch the entire outline drawn earlier. Insert the foam rubber.
Remove traces from the pen by heating them with iron

Cocoon without pen marks.
Insert the satin ribbon with a pin into the hole around the perimeter that we’ve got after stitching the strip up. And stretch it all around the perimeter
Stuff it with Hollowfiber through the unstitched end
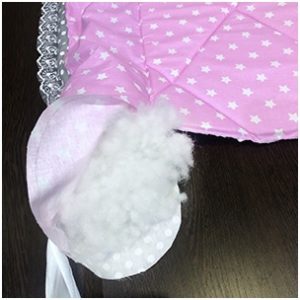
Slightly flatten the filling

Fix the position of the Hollowfiber with needles so that it doesn’t shift.
Stitch the remaining holes
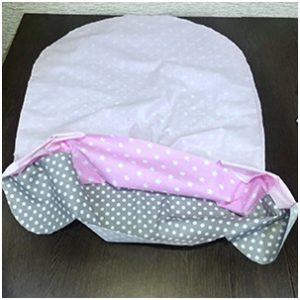
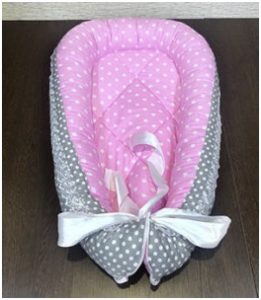
Then, close all the bottom seams with a bias tape.
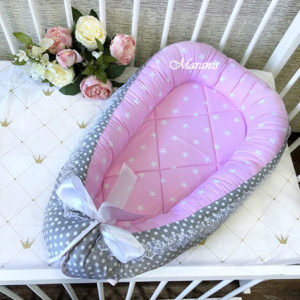
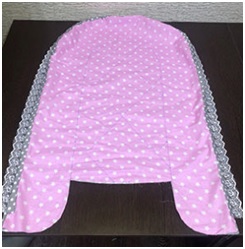
Pull and tie the satin ribbon bow. Baby nest ready.
In order to sew a cocoon with your own hands, you will need a baby nest pattern. You can find it at the link:
https://www.etsy.com/listing/790982271/baby-nest-for-newborn-pdf-babynest?ref=shop_home_feat_2

Оставить комментарий